Exterior shutters are one of the easiest ways to give the home the perfect finishing touch or to freshen up a dated, ho-hum façade. But good-looking shutters don’t just depend on choosing high-quality products. Style selection and installation techniques can play a key role in how the shutters appear—and whether they look authentic.
Here are a few mistakes to avoid when choosing and installing Atlantic Premium Shutters:
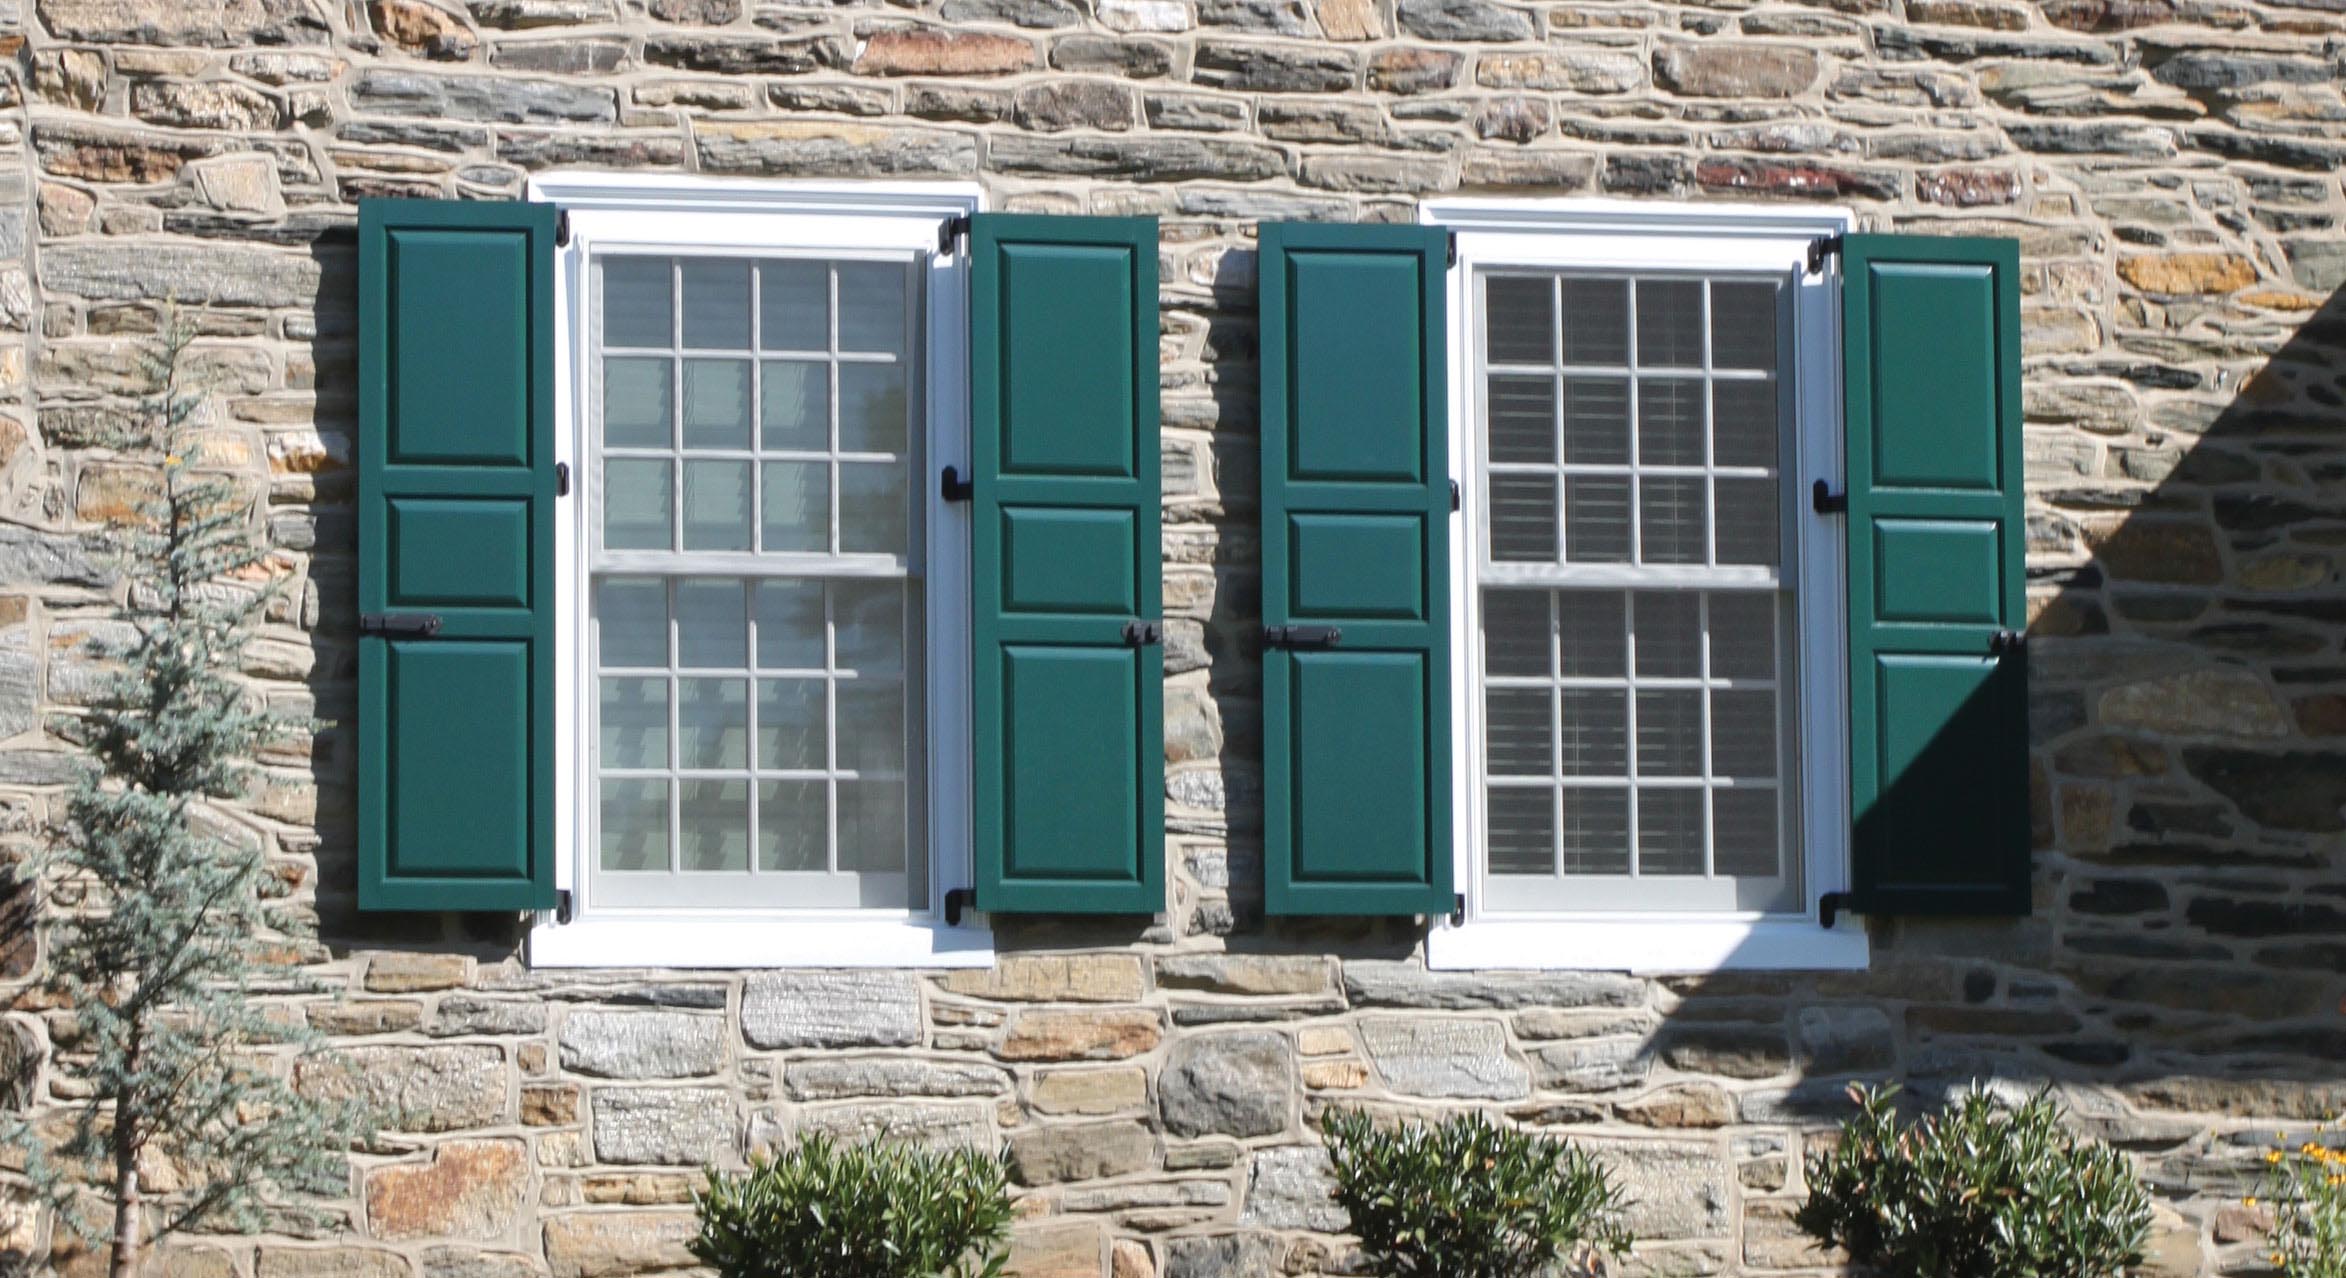
Improper Sizing
Even if the shutters will remain fixed, they need to appear as if they properly open and close; the eye can tell the difference even when the shutters are open. This is why shutter size is so important. When specifying a shutter size, don’t replicate the window exactly. We recommend allowing 1/4” on all sides so the shutters will “fit” into the window opening if they were closed.
To properly size the shutters, measure the width of the window opening to where the shutters would close, then deduct 3/4”, then repeat the measurement for the height and deduct 1/2”. This will give you 1/4” on all sides, enough to ensure the shutters close easily with a little left over to accommodate any mistakes.
Improper Shapes
Similarly, square exterior shutters won’t fit into arch-top window openings, so be sure to specify shutters in the same shape as the window. In addition, for round-top shutters, make sure the tops arch away from the window when open so that they would match the shape when closed.
Mismatched Rails
Some may prefer to center the shutters’ horizontal rail within the window. This technique is fine and a matter of preference, but to be historically accurate, you’ll want to measure the shutters so that the mid-rail drops slightly below the window’s meeting rail. In the past, homeowners would raise the window for ventilation but close the shutters, so positioning the mid-rail in this way ensured they could reach the latch or slide bolt to lock the shutters closed.
Misaligned Exterior Shutters
Prior to fully securing the shutters, close them to ensure they sit at an even height. If the window is slightly askew, the shutters may appear uneven. You may need to shim the shutters into the opening before mounting the pintles on the trimboard.
Upside-Down Louvers
A surprisingly common mistake is to hang shutters upside down, particularly louvered shutters. When the shutters are open, the louvers should slope down toward the wall, so that when closed, they would slope away from the window to shed rainwater.
Choosing Improper Hardware for Exterior Shutters
When selecting hardware, take both the shutter style and the home’s cladding into consideration. For example, brick exteriors will require you to attach shutter hardware to the brickmold to ensure the shutter can close fully. How the window sits also comes into play—most windows are recessed, but in some modern styles vinyl windows will protrude past the siding.
Hardware orientation matters, as well. For example, acorn-style holdbacks are designed to sit unseen behind the shutter to lock it in place, making these holdbacks an ideal option for tall shutters to help avoid rattling. S-style or rattail holdbacks go in front and should not be fastened too tightly to avoid marring the shutter finish.
(For more on choosing the right hardware, see our previous blog post.)
If you have any doubts about hardware calculations and sizing, talk to an experienced dealer or your manufacturer’s representative for assistance.
Improper Pintle Placement
The pintle, where the shutter attaches to the house, is typically installed with the pintle pin facing upward to make it easy to set the shutters in place. However, this makes the shutters more prone to blowoff in a storm. Install one pintle pin upside down (either the bottom or the top if there are two, or the middle if there are three) to lock it in place and avoid blowoff.
For more best practices and full instructions for Atlantic Premium Shutters, download the installation guide.